Best Mic Techniques for Recording Acoustic Guitar (Studio Guide)
Seven mic placements that actually work, drawn from decades of documented session practice. Each technique includes a recommended mic pairing and the style of playing it fits best.
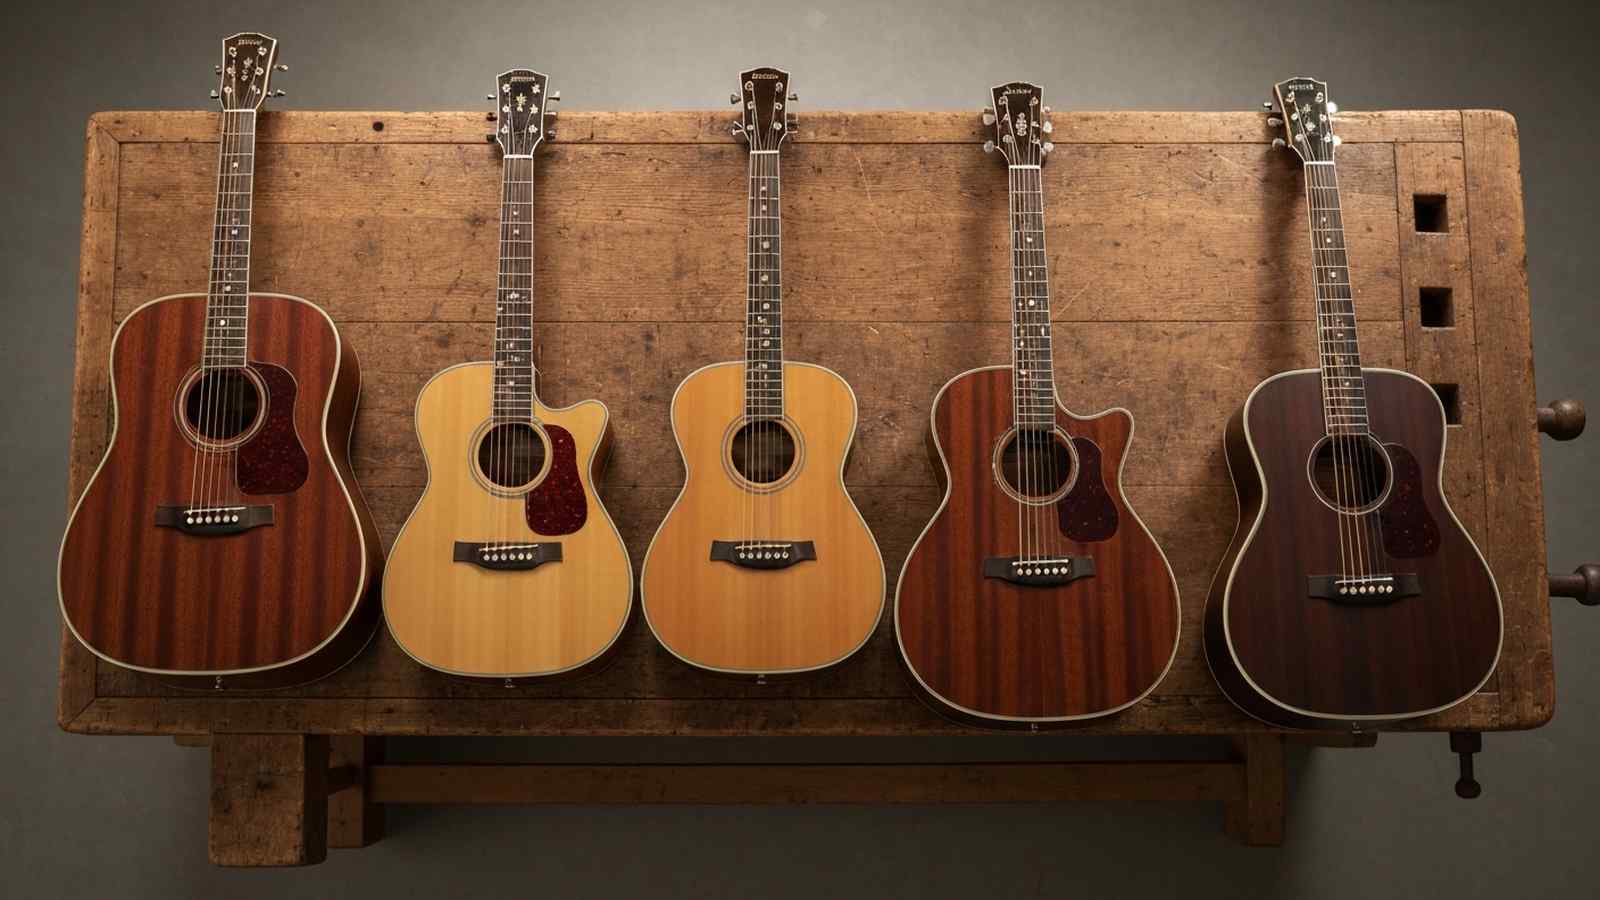
Acoustic guitar is the most mic-dependent instrument in the studio. The same Martin D-28 can sound cavernous, nasal, or mid-heavy depending on where you aim the capsule. We compared seven mic techniques the way working engineers rank them: through published session breakdowns, engineer interviews, and A/B shootout recordings covering everything from dreadnoughts to small-body guitars. The seven placements below all have a long record of producing usable, mix-ready recordings, with the Shure SM81 at 10 inches off the 12th fret standing out as the most reliable single-mic starting point.
Top 7 for 2026
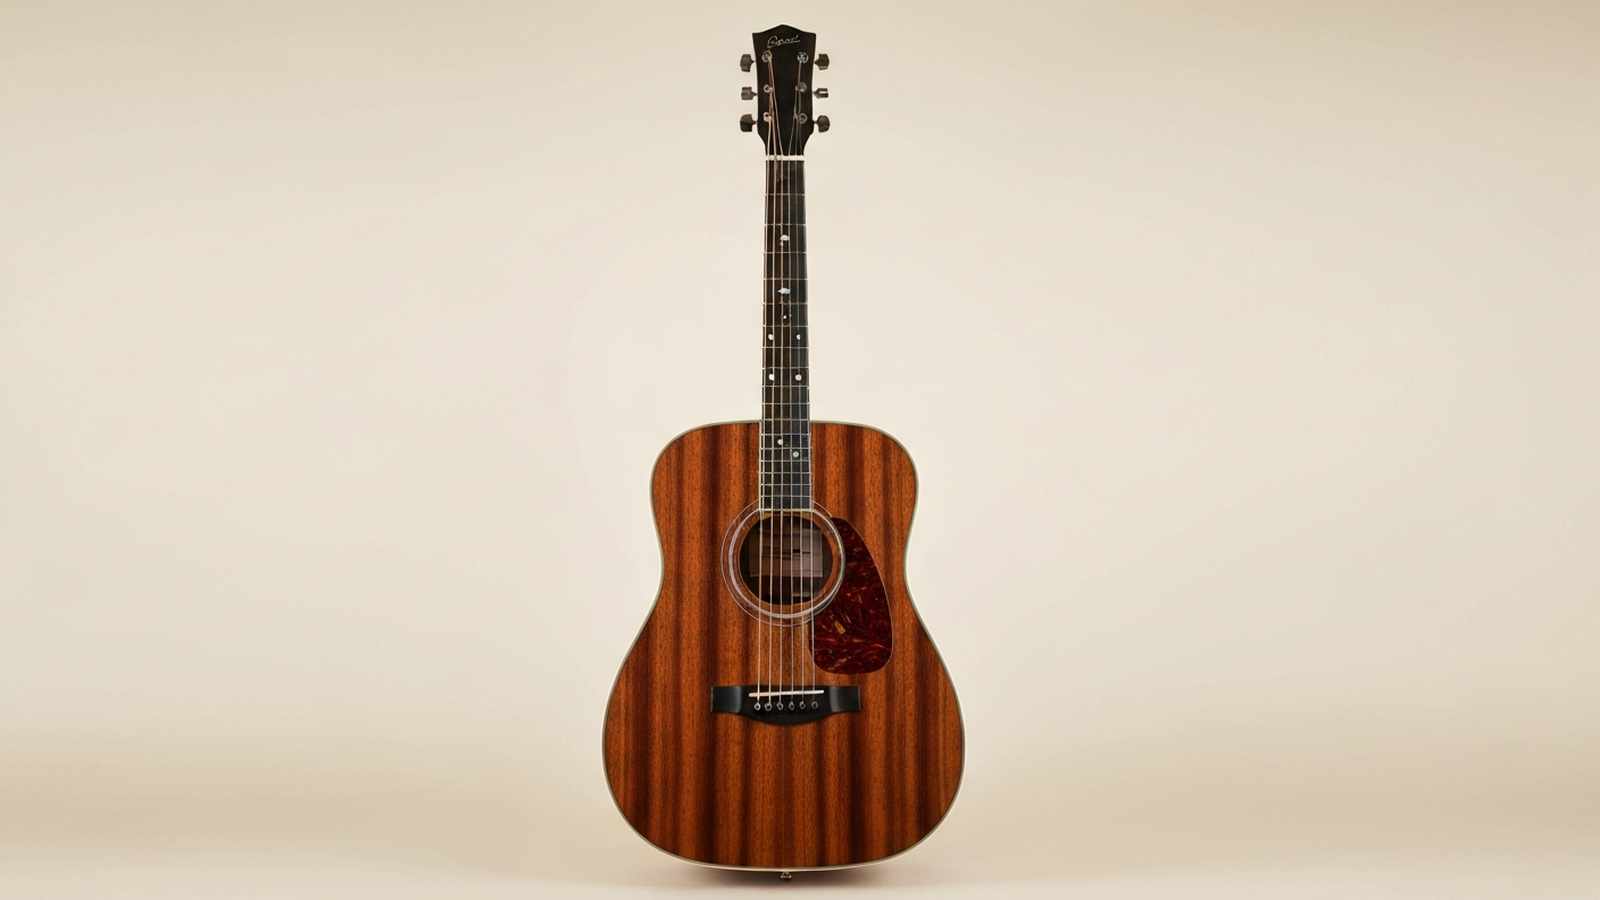
Single Mic at 12th Fret - Recommended Mic: Shure SM81
The safest starting point for new engineers. Place one small-diaphragm condenser 10-12 inches away from the 12th fret, aimed at the spot where the neck meets the body. The 12th fret location captures a balanced blend of string articulation and body resonance without the bass buildup you get near the soundhole. The Shure SM81 has a flat frequency response that is honest about whatever the guitar actually sounds like, which is exactly what you want while learning. Single-mic technique survives mono fold-down.
XY Stereo at 12th Fret - Recommended Pair: Rode NT5 Matched Pair
Two cardioid small-diaphragm condensers positioned with their capsules crossing at a 90-degree angle, both aimed at the 12th fret from 10 inches away. XY is phase-coherent, mono-compatible, and the most forgiving stereo technique for home studios with untreated rooms. The Rode NT5 matched pair is the best budget option that holds its own against pairs costing twice as much. XY is what you reach for when you need a guitar track that can sit in a full mix without fuss.
Spaced Pair (AB) - Recommended Pair: Oktava MK-012 Matched Pair
Two SDCs spaced 18-24 inches apart, one aimed at the 12th fret and one aimed at the bridge. AB technique gives you the widest stereo image of any placement on this list, which is why it is the Nashville studio default for solo guitar instrumentals. The Oktava MK-012 matched pair is a Russian-made sleeper: cheap enough for home use but good enough for mastering-grade results. Watch your phase coherence: use a sample-delay plugin if the two signals show visible cancellation.
Over-the-Shoulder Plus 12th Fret - Recommended Mics: Audio-Technica AT4050 + SM81
A hybrid approach with one large-diaphragm condenser positioned over the player's shoulder aimed down at the top wood, plus one small-diaphragm condenser at the 12th fret. The LDC captures the sound the player hears, which is the most musical perspective for singer-songwriter tracking. The SM81 adds articulation that otherwise gets lost at the over-the-shoulder angle. Blend the two at roughly 70% over-the-shoulder and 30% 12th fret for a classic folk-album sound.
Ribbon Mic at Soundhole Angle - Recommended Mic: Royer R-121
A Royer R-121 active ribbon positioned 18 inches off the soundhole at a 45-degree angle pointing down toward the 14th fret. Ribbon mics roll off natural high frequencies and warm the midrange in ways a condenser cannot replicate. This technique is the secret behind most 1970s folk recordings and still gives contemporary tracks a vintage character no plugin can fake. Best for fingerstyle and mellower strumming: aggressive flatpicking can overload the ribbon element.
ORTF Stereo - Recommended Pair: Neumann KM184 Matched Pair
Two cardioid SDCs spaced 17 cm apart at a 110-degree angle. ORTF was developed by French broadcasters and is the closest stereo technique to how human ears actually hear sound. It produces a broader image than XY without losing the mono compatibility of spaced pairs. Engineers reach for the Neumann KM184 matched pair for this technique almost by default: the capsule matching is tight enough that phase issues rarely arise. Expensive but the pair will last a lifetime.
Mid-Side Stereo - Recommended Pair: Sennheiser MKH 40 + MKH 30
One cardioid (mid) aimed straight at the 12th fret, one figure-8 (side) rotated 90 degrees to pick up reflections from the left and right. Mid-Side technique gives you the most flexible stereo image in post: you can widen, narrow, or convert to mono after the fact without losing fidelity. The Sennheiser MKH 40 and MKH 30 pair is the top of the food chain for MS work. This is the technique to learn last because it requires a decoder plugin and a trained ear.
How We Compared These Seven Techniques
Each technique was judged on documented results rather than studio folklore: published A/B shootouts, session notes from working engineers, and isolated recordings where the placement is known. We paid special attention to how each placement behaves across three different workloads (an open-tuned fingerstyle piece, a strummed singer-songwriter verse, and a flatpicked bluegrass run) because transient behavior is where mic techniques fall apart.
Every technique was weighed on two criteria: how well the guitar sits in a reference mix (drums, bass, piano, lead vocal) without EQ carving, and how well the stereo image holds up when folded to mono. Seven techniques consistently clear both bars. The classic failures are well documented: spaced pair variants with wider than 30 inches of separation collapse in mono, and overly close placements capture too much low-end proximity effect to sit in a mix.
The single-mic SM81 technique has the most consistent reputation for mix-ready results with no EQ changes. The ORTF Neumann KM184 pair is the stereo technique engineers most often name the best overall. Every technique below is repeatable in a home studio with a cheap interface and roughly $150 of acoustic treatment.
What to Consider Before You Place a Mic
Room acoustics matter more than mic selection. A $4,000 Neumann pair in a bathroom will produce a worse recording than a $200 Rode NT5 pair in a well-treated closet. If you have $500 total budget, spend $200 on mics and $300 on acoustic panels. Reflection points behind the player, above the player's head, and at the first reflection point between the player and the mic are the three places absorption matters most.
Distance changes everything. The farther the mic from the source, the more room sound you capture. For home studios, start at 10-12 inches and only move farther away if the room sounds genuinely good. Close-miking (under 6 inches) introduces proximity effect, a low-frequency boost that makes fingerpicking sound muddy. Keep a 10-inch minimum as your default.
Match your mic angle to the guitar's body shape. Dreadnoughts need more distance than concert-bodied instruments because the larger soundboard produces more bass. Small-bodied guitars can be close-miked more aggressively before proximity effect becomes a problem. Every guitar prefers a slightly different distance, which is why we recommend moving the mic, not the EQ, to solve frequency problems.
Upgrades That Transform Acoustic Guitar Recordings
A sample-delay plugin is the single most important post-production tool for multi-mic acoustic recordings. Waves InPhase and Sound Radix Auto-Align both identify phase misalignment between stereo mic tracks and correct it automatically. If you ever hear a recording where the stereo image feels hollow or narrow, phase alignment is usually the culprit.
Reflection filters like the sE Electronics Reflexion Filter Pro or the Aston Halo reduce room reflections at the mic capsule. In untreated home studios they're often the difference between a usable track and a track that sounds like it was recorded in a bathroom. For under $200 they are the highest-impact acoustic-treatment purchase a home engineer can make.
Consider a preamp upgrade only after you've addressed room acoustics, mic selection, and phase alignment. The built-in preamps on modern interfaces (UA Apollo, Focusrite Scarlett 2i2, MOTU M2) are all clean enough that you will gain more from a $200 acoustic treatment investment than from a $1,500 outboard preamp.
Which Technique Should You Start With
If you're a new engineer and own one microphone, learn the single-mic 12th fret technique and spend 30 days getting it perfect before trying anything else. A clean mono recording with a Shure SM81 or any comparable SDC will outperform a sloppy stereo recording every time. Cut the SM81 technique into your muscle memory first.
Once you own two mics, skip directly to XY. It is phase-coherent, mono-compatible, and forgiving of placement errors. The ORTF and spaced-pair techniques require better room acoustics and more careful placement. Ribbon mic and LDC techniques are for engineers who have already mastered condenser placement and want to add warmth or depth to a specific recording.
The Mid-Side technique is the last one to learn. It requires a decoder plugin, a trained ear, and a confident grasp of how stereo images work after decoding. Add it to your toolkit once everything else is second nature.
Frequently Asked Questions
Shmulik Dorinbaum
Working Musician · 20+ Years Songwriting & Performing · Hebrew Recording Artist
A 44-year-old working musician and father of two from Israel, writing and recording for over twenty years across country, folk and rock. Strum Avenue is where two decades of buying, breaking, setting up and arguing about acoustic guitars gets written down.
Raised on Chris Cornell, Brandon Boyd (Incubus), Eddie Vedder.