DIY Capo: Three Designs That Work, and What They Cost You
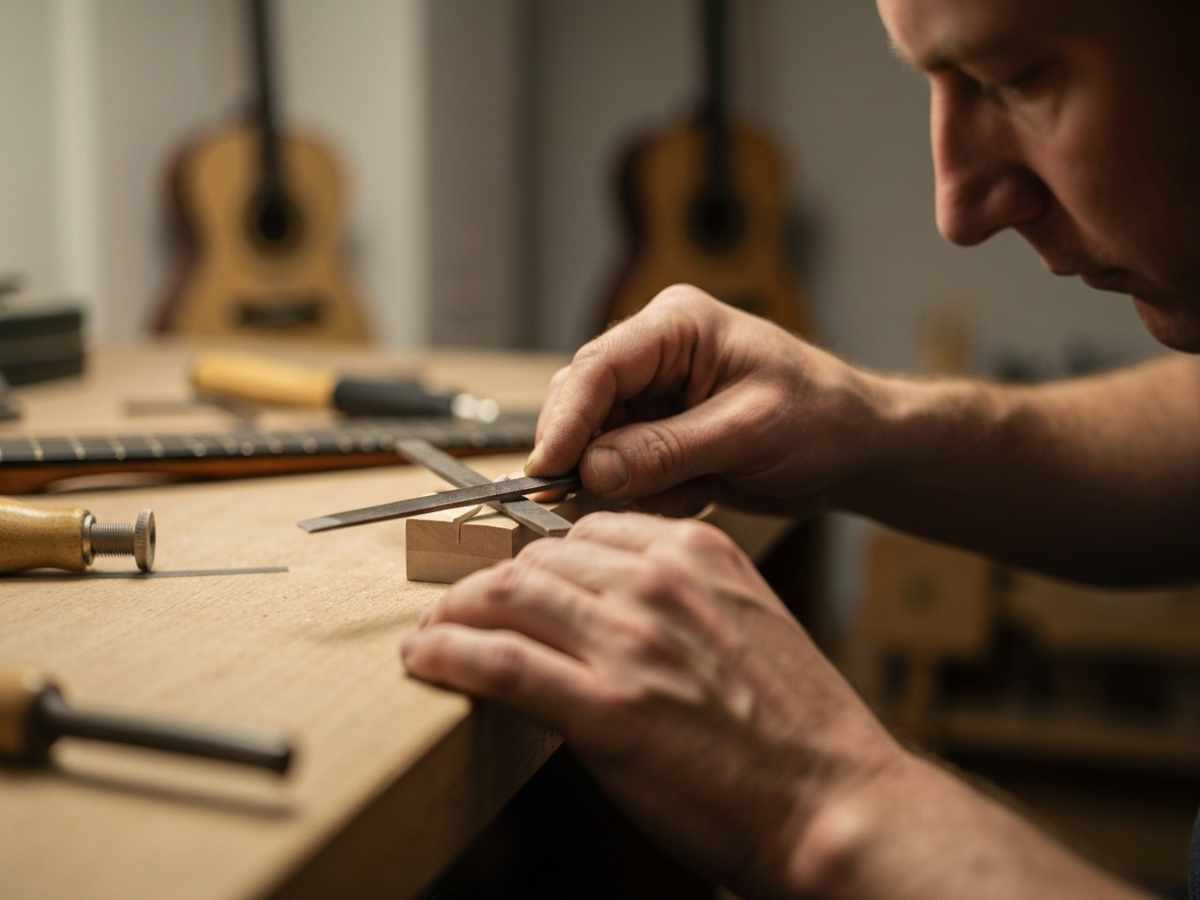
Why You Are Reading This at Eleven at Night
Almost nobody plans to make a capo. You are learning a song, the chart says capo 2, you do not own one, the shops are shut, and you would like to play the song now. That is the entire use case and it is a good one.
The good news is that a capo is a mechanically trivial object. It needs to press all six strings against a fret with reasonably even force and stay there. There is nothing clever inside a real capo either, just a spring and a rubber pad.
The bad news, and the part most tutorials skip, is that all improvised capos share a specific failure: they press too hard and unevenly, which pulls the strings sharp. Understanding that up front tells you what to do about it, so it comes before the designs rather than after them.
Every DIY Capo Pulls You Sharp. Here Is Why and What to Do.
Fretting a string raises its pitch by shortening it, but pressing down also stretches it slightly, which raises pitch a little further. Your finger applies just enough force to make contact. A rubber band wound tight applies far more, so it stretches the string more, so the note goes sharp. Thinner strings stretch proportionally more, so the top strings drift sharpest and the chord sounds wrong in a way that is hard to locate.
Two things fix it. Use the least tension that produces a clean note, testing by adding one wrap at a time and stopping the moment the buzz disappears. And place the capo directly behind the fret wire, not in the middle of the fret space, because close to the fret needs far less force for the same result.
Then tune with the capo on. This is the step everyone skips and it fixes the remaining error entirely. It also means you have to retune when you take it off, which is mildly irritating and is the price of the whole exercise.
This is not a DIY-only problem, incidentally. Cheap spring capos clamp harder than necessary and pull guitars sharp too, especially on the thin strings. If your shop-bought capo makes chords sound slightly off, it is the same physics.
Design 1: Pencil and Rubber Bands
The classic, and the best of the three. You need a pencil, or any straight rigid object about the width of the neck, and two or three rubber bands.
Lay the pencil across the strings just behind the fret you want. Loop a rubber band over one end, wrap it under the neck, and hook it over the other end. Add wraps until every string rings clean when you pick it individually, then stop. Do not keep going for luck.
Why it is the best: the pencil is rigid, so pressure is distributed evenly across all six strings, which is exactly what a real capo does. The bands are the adjustable part and you can tune the force precisely.
The refinement worth two extra seconds: wrap a strip of cloth, a sock, or a couple of turns of masking tape around the middle of the pencil where it meets the strings. The soft layer stops the bare wood ringing sympathetically and grips better, so you need less tension. This one change takes the pencil capo from workable to genuinely usable.
- A pencil, chopstick, or any rigid rod slightly wider than the neck
- Two or three rubber bands, ideally a mix of thicknesses
- Optional but recommended: a strip of cloth or masking tape to pad the contact point
Design 2: The Zip Tie
Take a zip tie long enough to go round the neck, thread it, and pull it snug just behind the fret. That is the whole method, which is its appeal.
It works, and it has two real drawbacks. Adjustment is one-directional on most zip ties, so overtighten and you are cutting it off and starting again. And a bare plastic strip presses unevenly and can mark a glossy finish, so pad the contact side with cloth or tape before tightening.
It is the fastest of the three and the one most likely to be within reach in a garage or a rehearsal room. It is also the one most likely to make you sharp, because the fine control that stops you overtightening is not really there.
Use a reusable zip tie with a release tab if you have one. It converts this from a disposable hack into something you can actually adjust.
Design 3: Hair Tie and Pencil
A variant on the first design and the gentlest on the instrument. A fabric-covered hair elastic wrapped around a padded pencil gives softer, more forgiving pressure than rubber bands, so it is less likely to pull you sharp and much less likely to mark a finish.
The trade is grip. Hair ties stretch more and hold less, so on a wide neck or with heavier strings you may not get enough pressure on the wound strings without doubling up. On a classical or a nylon-string guitar, where tension is lower, it works beautifully.
This is the version to use on a guitar you care about.
The Three Things That Go Wrong
Buzzing on one string, usually the low E or the A. The improvised bar is not sitting flat, so one end is higher than the other. Reposition rather than tighten, because tightening a crooked bar just makes it buzz harder while pulling everything else sharp.
Everything sounds slightly out of tune. That is the sharp problem, and the answer is less tension, closer to the fret, then tune with it on.
It slips down the neck while you play. Almost always insufficient friction rather than insufficient tension, which is why the padding matters. Cloth grips, bare wood and bare plastic slide.
One thing to actually be careful about: do not overtighten a zip tie or a heavy rubber band on a guitar with a thin nitrocellulose finish, which most vintage and many high-end acoustics have. Pressure plus time plus rubber can mark that finish, and rubber in particular can react with nitro. Pad the contact point or use the hair tie version.
When to Stop Improvising
A decent spring capo costs about $15 and a very good one costs about $25. Given that, the honest answer is that a DIY capo is for tonight, not for a habit.
Buy one the moment any of these is true. You need to change capo position mid-song, which no improvised design can do. You are recording, where the tuning drift will be obvious in a way it is not in a room. You are playing in front of people, because a pencil and rubber bands falling off mid-chorus is a specific kind of memorable. Or you have used a DIY capo three times, at which point the tool is clearly part of your playing and $15 is not the obstacle.
There is one lasting use for the pencil trick even after you own a capo: a partial capo, covering only some of the strings, for the modal tunings that a standard capo cannot produce. That is a genuine technique rather than a workaround, and a padded pencil with one rubber band does it fine.
If you are using a capo to move a song to a key you can sing, the capo chart and transposer on this site will tell you which fret you need before you go looking for a pencil.
Frequently Asked Questions

Shmulik Dorinbaum
Working Musician · 20+ Years Songwriting & Performing · Hebrew Recording Artist
A 44-year-old working musician and father of two from Israel, writing and recording for over twenty years across country, folk and rock. Strum Avenue is where two decades of buying, breaking, setting up and arguing about acoustic guitars gets written down.
Raised on Chris Cornell, Brandon Boyd (Incubus), Eddie Vedder.